Getting started with Airflow locally and remotely
in Blog
Why Airflow?
Airflow is a workflow management platform developed and open-source by AirBnB in 2014 to help the company manage its complicated workflows. Fast forward to today, hundreds of companies are utilizing Airflow to manage their software engineering, data engineering, ML engineering pipelines.
Airflow was developed with four principles in mind, which are scalable, dynamic, extendable, and elegant. Scalable means you can effortlessly scale your pipeline horizontally. Dynamic means dynamic pipeline generation, extensible means you can easily write your custom operators/integrations. Finally, elegant means you can have your pipeline lean and explicit with parameters and Jinja templating.
)](https://cdn-images-1.medium.com/max/2000/1*9niHUeMb_Jh8kKaWmOyytg.png)
Airflow architecture (source)
Here are some features of Airflow:
Developed in Pure Python: develop your pipeline using only Python, which is the language of choice for data scientists and data engineers.
Useful UI: Airflow UI helps visualize your workflow and provides visibility for your pipeline.
Plenty of integrations: chances are Airflow already has integration with your data systems. Some notable integrations include AWS, GCP, Spark, and most SQL databases.
Easy to use: Anyone who knows Python can create pipelines with Airflow for various purposes, including data engineer pipeline, automate building machine learning models, or infrastructure automation.
You can build and automate all sorts of systems using Airflow, and it is especially popular amongst data professionals. I started using Airflow to orchestrate ETL processes for our company’s data lake on GCP a couple of years back. It has seen been an essential part of my toolkit.
What can you do with Airflow?
In Layman’s term, Airflow is an orchestration tool, which means it will trigger tasks on schedule, or when certain events happen (such as an API call or when a sensor operator senses an action). Here are some possible use cases of Airflow:
Replace cron jobs: monitoring cron jobs is hard and tedious. Instead of manually ssh to servers to find out if/why your jobs fail, you can visually see whether your code run or not through the UI and have Airflow notifies you when a job fails.
Extract data: Airflow, with its many integrations, are used a lot for data engineering tasks. You can write tasks to extract data from your production databases, check data quality, and write the results to your on-cloud data warehouse.
Transform data: you can interface with external services to process your data. For example, you can have a pipeline that submits a job to EMR to process data in S3 with Spark and writes the results to your Redshift data warehouse.
Train machine learning models: you can extract data from a data warehouse, do feature engineering, train a model, and write the results to a NoSQL database to be consumed by other applications.
Crawl data from the Internet: you can write tasks to periodically crawl data from the Internet and write to your database. For instance, you can get daily competitor’s prices or get all comments from your company’s Facebook page.
The possibilities are endless.
Glossary
Before we go on to setting up Airflow, let’s look at some basic terminologies.
DAGs
DAG is an acronym for a directed acyclic graph, which is a fancy way of describing a graph that is direct and does not form a cycle (a later node never point to an earlier one). Think of DAG in Airflow as a pipeline with nodes (tasks in a DAG, such as “start”, “section-1-task-1”, …) and edges (arrows).
)](https://cdn-images-1.medium.com/max/2000/1*B90BDVbECjk0rwzOYzCeRQ.png)
Example of an Airflow Dag (source)
You define a DAG with Python, and you can set all sorts of properties for a dag (pipeline). For example start_date, end_date, execution_schedule, etc.
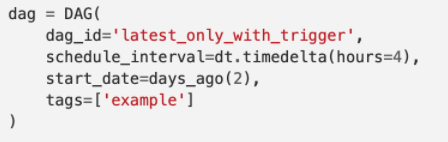
A dag definition in Python
Operator, sensor, task
An operator defines what gets done within a task. Some example operators are PythonOperator (execute a python script), BashOperator(run a bash script)…
A sensor is an operator that waits for a specific event to happen. For instance, a file is written to an S3 bucket, a database row is inserted, or an API call happens.
A task is simply an instantiated operator. In your dag definition, you can define task dependency with Python code. That is which execute B, C after task A, and D after task B, C.
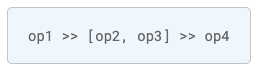
Example of task dependency definition
Installation and setup
Airflow is quite complicated, as you can see from the architecture above. For local development, we don’t need all the components in the architecture, but for deployment to a server, we certainly need all of them. Let’s look at installing Airflow locally first
Local install for development
- Create an environment for Airflow (Optional but recommended): You can create an environment with Anaconda easily with the following commands:
conda create -n airflow python=3.7 conda activate airflow - Install Airflow with pip
pip install -U apache-airflow - Create a folder and set it as Airflow home
mkdir -p ~/airflow/dags export AIRFLOW_HOME='~/airflow' export PATH=$PATH:~/.local/bin - Init airflow. After init, you can adjust airflow settings in airflow.cfg
cd ~/airflow airflow initdb - Start airflow scheduler
airflow scheduler - Start airflow webserver in a new terminal window
 # Activate airflow env if needed
 conda activate airflow
 airflow webserver
That’s it.
Now if you go to your web browser at localhost:8080, you will be able to see the Airflow UI loaded with many examples. You can trigger some of the DAGs, and it will run on your local machine. Referencing the example DAGs will help in developing a new one.
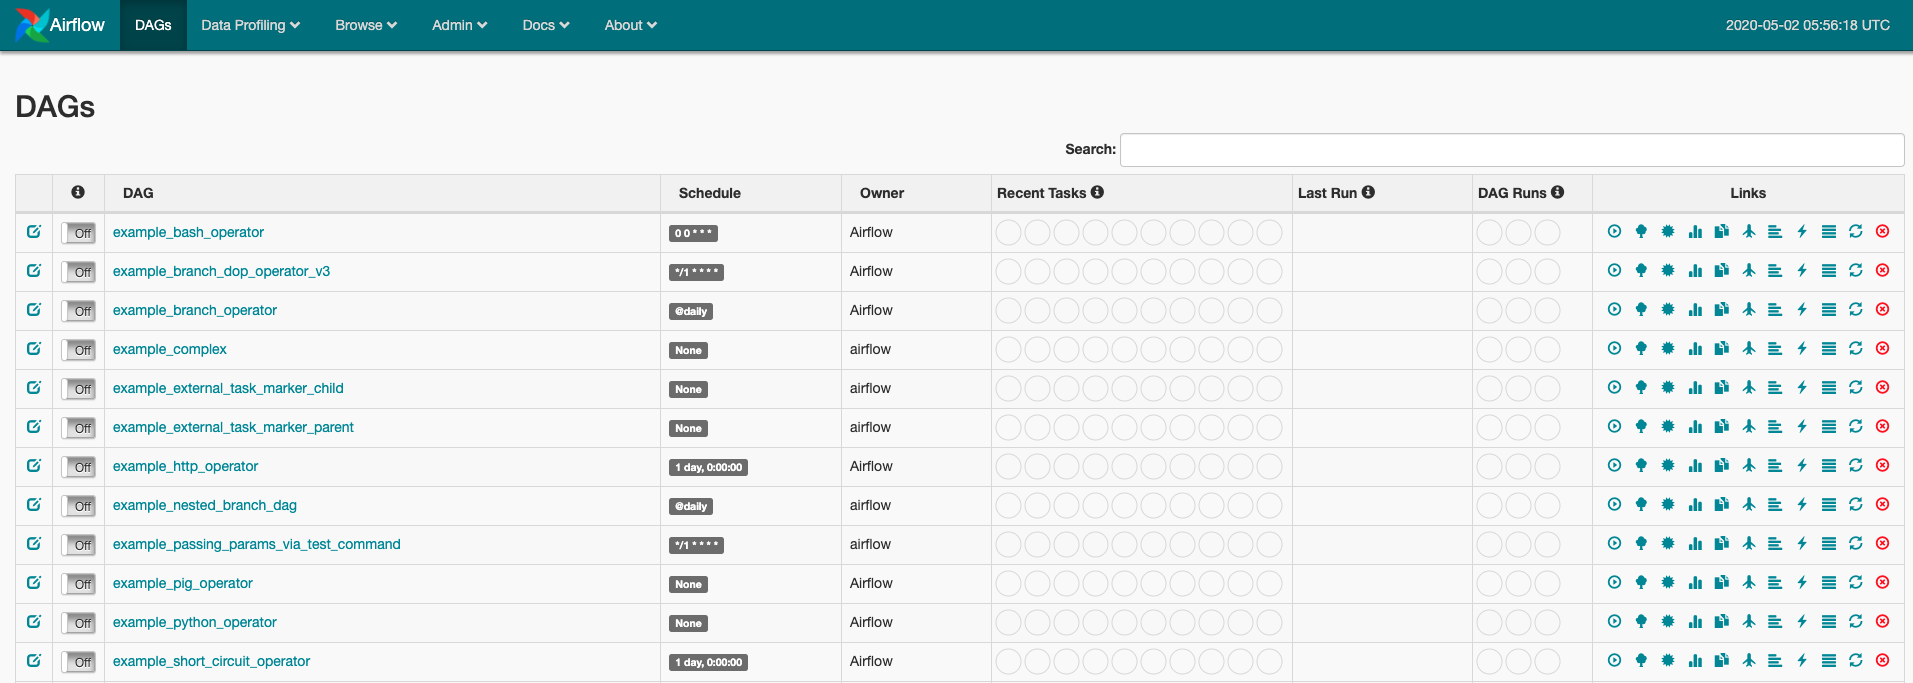
Airflow UI at localhost:8080
Now you can define a new DAG file in the directory ~/airflow/dags/ , and Airflow will render your DAG to the UI. I will save the instructions to define a DAG for the next post. Now let’s look at how you can deploy Airflow to a server.
Deployment to a server
As mentioned earlier, Airflow’s architecture is complicated, and setting all the components from scratch is cumbersome and error-prone. Fortunately, we can use Docker to deploy all of the components in Airflow architecture to a server effortlessly.
SSH to your server and make sure Docker is installed. If it is not, you will have to install Docker and docker-compose for this to work. There are many guides to install Docker on different OS, and you can simply Google how to.
- In this guide, I’m using docker-airflow managed by puckel in this repo. I suggest you fork the repo to your GitHub account and clone the forked repo to the remote server.
# Replace the URL with your forked repo git clone [https://github.com/puckel/docker-airflow](https://github.com/puckel/docker-airflow) - Config Airflow: in the repo, you will find a file named docker-compose-CeleryExecutor.yml, this is the file that docker-compose config file for your Airflow deployment.
Make sure that you change all the default user name & password for security purposes.
- Uncomment the three lines like shown below, to persist the metadata database file to your system file
# Uncomment these lines to persist data on the local filesystem. - PGDATA=/var/lib/postgresql/data/pgdata volumes: - ./pgdata:/var/lib/postgresql/data/pgdata - Add the following codes to environment variables of webserver, worker, and scheduler to enable basic login. Note that you have to create an admin user using the following script or using Airflow CLI.
    - AIRFLOW__WEBSERVER__AUTHENTICATE=True

    - AIRFLOW__WEBSERVER__AUTH_BACKEND=airflow.contrib.auth.backends.password_auth
- Create .env and requirements.txt (optional): You can create those two files in the repo. You can store environment variables in .env and .requirements.txt for your Airflow deployment. Make sure that you expose them to your containers by adding the following to volumes for webserver, worker, and scheduler.
- ./requirements.txt:/requirements.txt
- Start your containers: now that we are done with all the configurations, you can start the containers with the following command. Have a look at the docker-compose documentation for more commands that you can do.
docker-compose -f docker-compose-CeleryExecutor.yml up - Create a Makefile for easy management (optional): You can create a Makefile to issue long and repetitive commands. Take a look at mine below:
    up:

    . ./.env && docker-compose -f docker-compose-CeleryExecutor.yml up

    run:

    . ./.env && docker-compose -f docker-compose-CeleryExecutor.yml up -d --scale worker=2 && docker-compose logs -tf

    down:

    docker-compose -f docker-compose-CeleryExecutor.yml down

    restart:

    docker-compose down && . ./.env && docker-compose up -d --scale worker=2

    logs:

    docker-compose logs -tf
With this, you can simply run make up to start the containers, make down to stop, and make restart to restart.
Summary
In this post, I walk you through what Airflow is, why, and how we can use Airflow. I also show how you can install and run Airflow locally as well as configure it for a remote server.
Hope you learned something today :)